Draw a Halloween Scene: Scary Yet Fun Art Tutorial
🌕 Create the Ultimate Halloween Scene with This Easy Art Tutorial
Drawing a full Halloween scene is the perfect way to celebrate spooky season with creativity and imagination. From eerie forests to haunted houses, flying bats to mysterious witches—Halloween art lets you explore the creepy and the cute at the same time!
This step-by-step Halloween scene drawing tutorial is designed for beginners, kids, and anyone who wants to build a complete illustration filled with classic Halloween vibes. Whether you’re crafting Halloween decorations, making a greeting card, or just drawing for fun, this guide will help you bring your spooky ideas to life.
🎃 What You’ll Need:
Pencil and eraser
Drawing paper or sketchbook
Black fine liner or marker for outlines
Colored pencils, markers, or digital drawing app
Optional: white gel pen for highlights and stars
✏️ How to Draw a Spooky Halloween Scene – Step-by-Step
Step 1: Start with the Background – A Haunted Sky
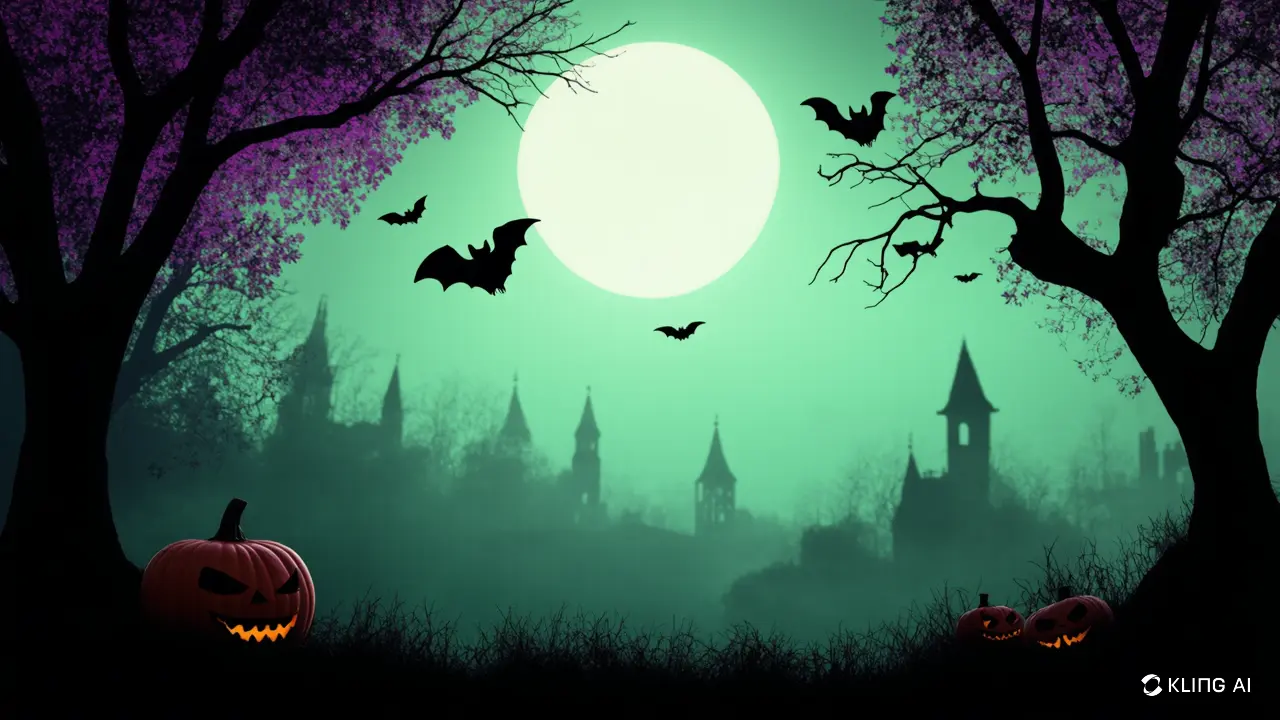
Lightly sketch a large moon in the sky (top-right or center works well).
Draw some wispy clouds and flying bats around it.
Add small stars or a streaking cloud to give it that midnight Halloween vibe.
Step 2: Draw a Spooky Forest or Hills
Add silhouettes of jagged hills or trees at the bottom of your page.
Use curvy lines for the hills and sharp angles for haunted trees with twisted branches.
Add a few jack-o'-lanterns peeking from behind the trees!
Step 3: Add a Haunted House or Witch’s Hut
Sketch a crooked, tall house with glowing windows.
Make the roof uneven, and add spider webs, crooked chimneys, and a tiny black cat.
Place the house in the distance or on a hill for a dramatic effect.
Step 4: Add a Flying Witch or Characters
Draw a small silhouette of a witch flying on a broomstick across the moon.
You can also add spooky characters like a friendly ghost, a vampire, or a skeleton in the foreground.
Keep the style cartoony or realistic depending on your preference!
Step 5: Fill in the Details
Add gravestones, fences, and lanterns in the scene.
Draw bats, owls, or black cats to enhance the Halloween mood.
Give your pumpkins glowing faces and eerie expressions.
Step 6: Time to Color
Use dark purples, deep blues, and black for the background.
Color the moon a soft yellow or off-white.
Add pops of orange, red, and green for the pumpkins, leaves, and spooky accents.
👻 Bonus Ideas to Make It Even Cooler:
Use white gel pen to draw tiny ghosts or misty effects
Create a “Happy Halloween” sign in spooky lettering
Add falling leaves for a seasonal autumn effect
Make the windows of the haunted house glow using a yellow-to-orange gradient
🎨 Benefits of Drawing a Halloween Scene:
Encourages storytelling through art
Helps kids and beginners improve composition skills
Perfect for classroom activities and Halloween craft sessions
Can be turned into posters, cards, or coloring sheets
🧛♀️ Who Should Try This Tutorial?
Kids aged 6 and up
Beginners learning scene composition
Art teachers planning October projects
Halloween lovers of all ages!
🕸️ Final Thoughts
Creating a scary yet fun Halloween drawing scene is a rewarding art project that brings together imagination, storytelling, and festive fun. Whether you’re adding a witch, a haunted house, or just spooky trees, each part of the scene adds life and mood to your Halloween masterpiece.
So light your creative candle, sharpen your pencil, and get ready to sketch something spooky! Your Halloween scene awaits...