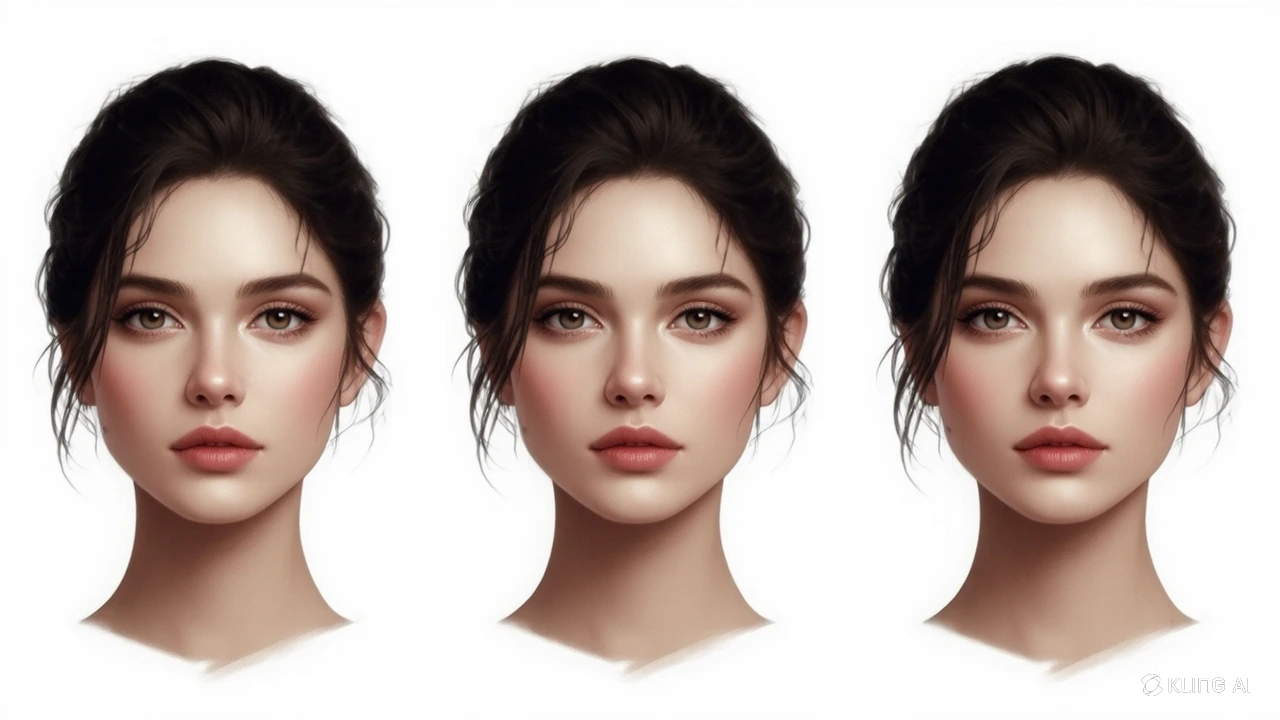
How to Draw a Face: Step-by-Step Portrait Drawing Guide for Beginners

✏️ How to Draw a Face – Step-by-Step Tutorial for Beginners
Drawing a realistic face is one of the most important skills any artist can develop. Whether you're designing characters, practicing figure drawing, or creating portraits, understanding facial anatomy and proportions is key. This beginner-friendly guide breaks down the process into clear, simple steps so you can build confidence and accuracy in your artwork.
Let’s explore how to draw faces from front, side, and angled views, including feature placement, shading techniques, and how to avoid common mistakes!
👤 Section 1: Facial Proportions & Structure
A strong foundation starts with proportion. Before you add any features, sketch the overall shape of the head.
✅ Basic Head Shape:
Draw a vertically aligned oval, slightly narrower at the bottom (egg-shaped)
Divide the face vertically and horizontally with light guidelines
📐 Proportional Breakdown – The Rule of Thirds:
Hairline to eyebrows = 1/3
Eyebrows to the bottom of the nose = 1/3
Bottom of the nose to chin = 1/3
👀 Eye Placement:
Eyes sit on the horizontal midline
Face is approximately five eye widths across
The space between the eyes = one eye width
🔺 Triangle Method:
Connect both eyes and the bottom of the nose to form a triangle
Helps in aligning the mouth and nose symmetrically
🧑 Section 2: Drawing Facial Features
👁 Eyes:
Begin with almond shapes
Emphasize the upper eyelid line more than the lower
Iris should slightly touch both eyelids for realism
Add catch lights in the pupils to simulate light reflection
👃 Nose:
Use soft shading rather than hard outlines
Base of the nose aligns with inner corners of the eyes
Nostrils should not be identical – this adds realism
👄 Mouth:
Center aligns with the vertical line down the face
Mouth width: corners align with pupils or center of each eye
Draw the upper lip with a defined Cupid’s bow, and make the lower lip fuller
📐 Section 3: Drawing Faces in Different Angles
Changing the angle changes everything. Here's how to adjust your drawing for perspective:
🔄 3/4 View:
Only one ear is visible
Nose and mouth shift slightly toward the visible side
One eye appears narrower due to foreshortening
👤 Profile View:
Forehead slopes gently back
Lips and chin protrude slightly
Only one eye, ear, and side of the face is visible
📏 Tilted Head:
All horizontal guidelines (eyes, nose, mouth) curve according to the tilt
Ears follow the eyebrow-nose line, adjusting with tilt
🖤 Section 4: Advanced Techniques for Realism
🌗 Shading Basics:
Use cross-hatching for texture (e.g. stubble, skin)
Blend with a tissue or blending stump for smooth shadows
Highlight key areas: cheekbones, bridge of nose, brow ridge, and chin
👶👵 Age Variations:
Children: Larger eyes, smaller chins and noses
Teens: Defined jawline begins to develop
Elderly: Add crow’s feet, nasolabial folds, and thinner lips
🎨 Tools to Try:
Graphite pencils (2H for guidelines, 2B–6B for shadows)
Kneaded eraser for lifting highlights
White gel pen for final sparkle in the eyes
❌ Section 5: Common Mistakes & How to Fix Them
Mistakes happen—here’s how to avoid the most common ones when drawing faces:
🚫 Eye Placement:
Don’t place eyes too high; it leads to an unnatural, alien-like appearance
Keep the eyes on the true midline
⚖️ Over-Symmetry:
Perfect symmetry makes the face look robotic
Add slight differences in eyebrows or eye tilt to enhance realism
🧍 Neck Width:
Don’t draw the neck too narrow
Neck should extend from just below the ears, not from the chin
🔍 Pro Tips to Improve Your Face Drawing Skills
Practice using the grid method for proportional accuracy
Break down reference photos into shapes and lines
Use mirror flipping (digital) or turn your sketch upside down to spot errors
Sketch quick gesture portraits for muscle memory
🧠 Final Thoughts
Drawing a realistic face can feel intimidating at first, but with the right foundation, consistent practice, and attention to proportion, any beginner can master portrait drawing. Remember: even professional artists continually study the face. So be patient with yourself and enjoy the process!
Ready to sketch a face? Start with the basics, take it one step at a time, and you’ll be amazed at your progress. Happy drawing!