How to Draw Eyes: Step-by-Step Tutorial for Realistic Results
👁️ How to Draw Realistic Eyes – A Step-by-Step Guide for Beginners
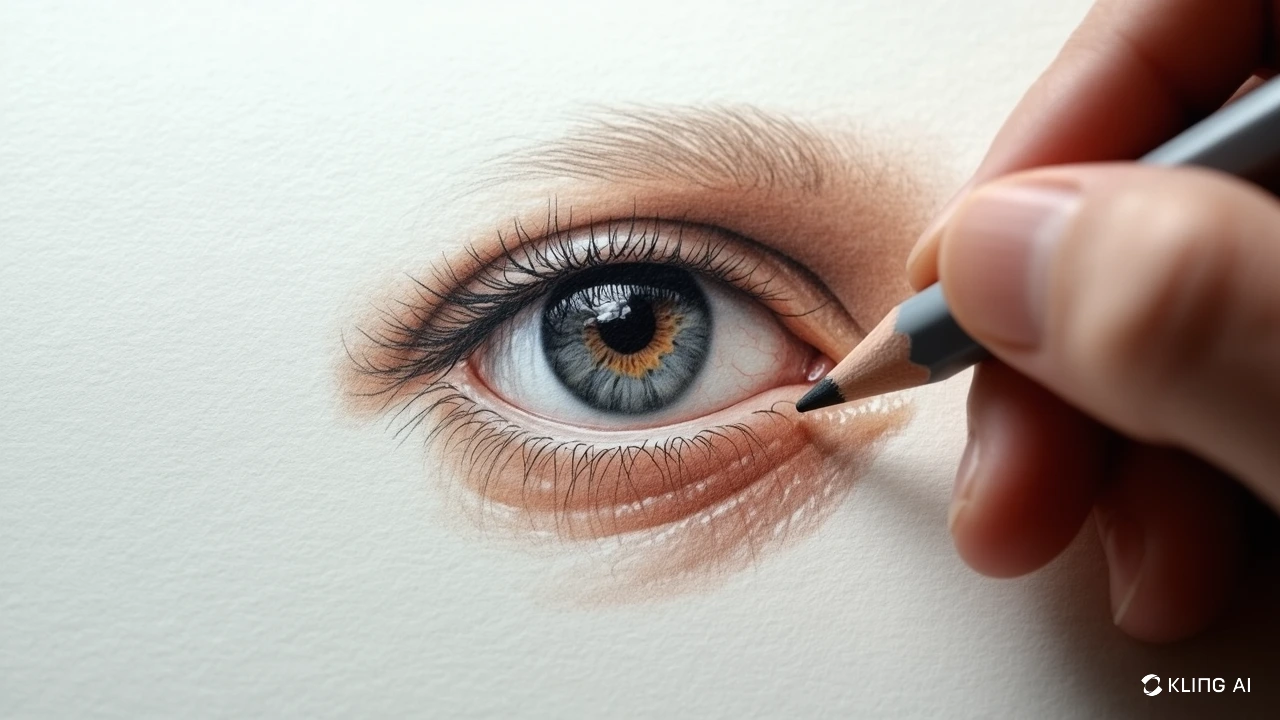
Drawing eyes is one of the most exciting and expressive parts of portrait art. Whether you’re aiming for realism, hyperrealism, or stylized sketches, understanding the structure, shading, and texture of the human eye is essential.
This comprehensive beginner's guide reveals the professional methods used by realism artists—from light theory and anatomy to advanced layering techniques—so you can learn to draw eyes that are full of life, depth, and emotion.
✍️ Section 1: Observational Drawing Mastery
Before pencil hits paper, sharpen your eye for observation.
🔎 Use the Sighting Technique:
Hold your pencil vertically or horizontally to measure angles and proportions
Compare the width of the eye to its height, and note its placement in relation to the nose and eyebrow
Map out the tear duct and iris positioning using light construction lines
👁 Blind Contour Practice:
Without looking at your paper, slowly trace the outline of an eye by focusing only on the subject
Builds hand-eye coordination and improves accuracy over time
📐 Analyze Negative Space:
Study the shapes between the eyelid curves, lashes, and surrounding features
Helps avoid symmetry errors and flatness in drawings
🌗 Section 2: Understanding Light & Shadow in Eye Drawing
Realistic eye drawings depend heavily on believable lighting.
🌓 Master the 5-Value Shading System:
Highlight: On the cornea, waterline, and tear duct
Midtone: The white of the eye (sclera) isn’t pure white—shade it softly
Core Shadow: Around eyelids and under the brow ridge
Reflected Light: Light bouncing off the lower eyelid
Cast Shadow: From the upper eyelid onto the eyeball
✏️ Pencil Grades for Shading:
2H–4H: Light skin tone gradients and sclera base
HB–2B: Eyelid structure, iris, and under-eye shadows
4B–8B: Deep iris contrasts, lash lines, and pupils
🧱 Section 3: Texture Rendering Techniques
Drawing an eye realistically means capturing the surrounding skin and surfaces.
🧬 Skin:
Use tight, circular pencil motions to mimic pores
Vary line weight and pencil pressure to reflect natural texture and tiny wrinkles
👁 Iris:
Start from the pupil and draw radiating lines outward
Add subtle highlights around the pupil and blend for softness
Use stippled shading for eye color texture
🪞 Waterline & Eyelashes:
Use short, curved strokes for lower lashes
Top lashes should fan out from the lid—not all pointing straight up
Keep lash roots darker and taper ends
🧑🎨 Section 4: Professional Eye Drawing Layering Method
To build realism in stages, follow this tried-and-true five-step method:
1. Block-In (2H pencil)
Draw the basic eye shape, lash line, and iris placement
Keep lines light and adjustable
2. Refine Structure (HB)
Firm up eyelid contours, tear duct shape, and iris details
Add guidelines for eyebrow placement
3. Add Values (2B)
Begin shading areas of shadow: under the brow, lid crease, and outer eye
Use hatching or light blending to create smooth gradations
4. Detail Texture (4B–6B)
Deepen the pupil, define lashes, and sharpen iris texture
Add reflected light and waterline glossiness
5. Final Polish
Use a kneaded eraser to lift highlights in the tear duct, cornea, and lashes
Optional: White gel pen for final catchlight detail
🧠 Section 5: Advanced Realism Tricks
🎯 Edge Control:
Use hard edges on the upper lash line and catchlights for focus
Soft edges on the outer eye and shadows for depth and realism
🌫 Atmospheric Perspective:
Fade contrast around the outer eye
Keep crisp details only in focal zones (iris, lashes, waterline)
🌡 Color Temperature (for color drawing):
Use warm tones (yellows, reds) for light areas
Use cool tones (blues, purples) in shadows to create depth
🧩 Pro Tools & Practice Tips:
Use a value finder tool to match tones in reference images
Practice drawing just one part of the eye (like the iris or upper lid) repeatedly
Flip your drawing horizontally (digitally or with a mirror) to check symmetry
Create a reference sheet of different eye types: narrow, wide, deep-set, droopy, and almond
🔚 Final Thoughts
Mastering how to draw eyes realistically is a rewarding challenge that strengthens your entire portrait-drawing skill set. By understanding proportions, shading, and texture, and applying layered drawing techniques, you’ll be able to render eyes that feel alive and expressive.
So grab your sketchbook, focus your gaze, and bring your portraits to life—one eye at a time.