Tiger to Draw: Realistic Wild Cat Sketch Guide
🐅 Capture the Power and Grace of a Wild Tiger on Paper
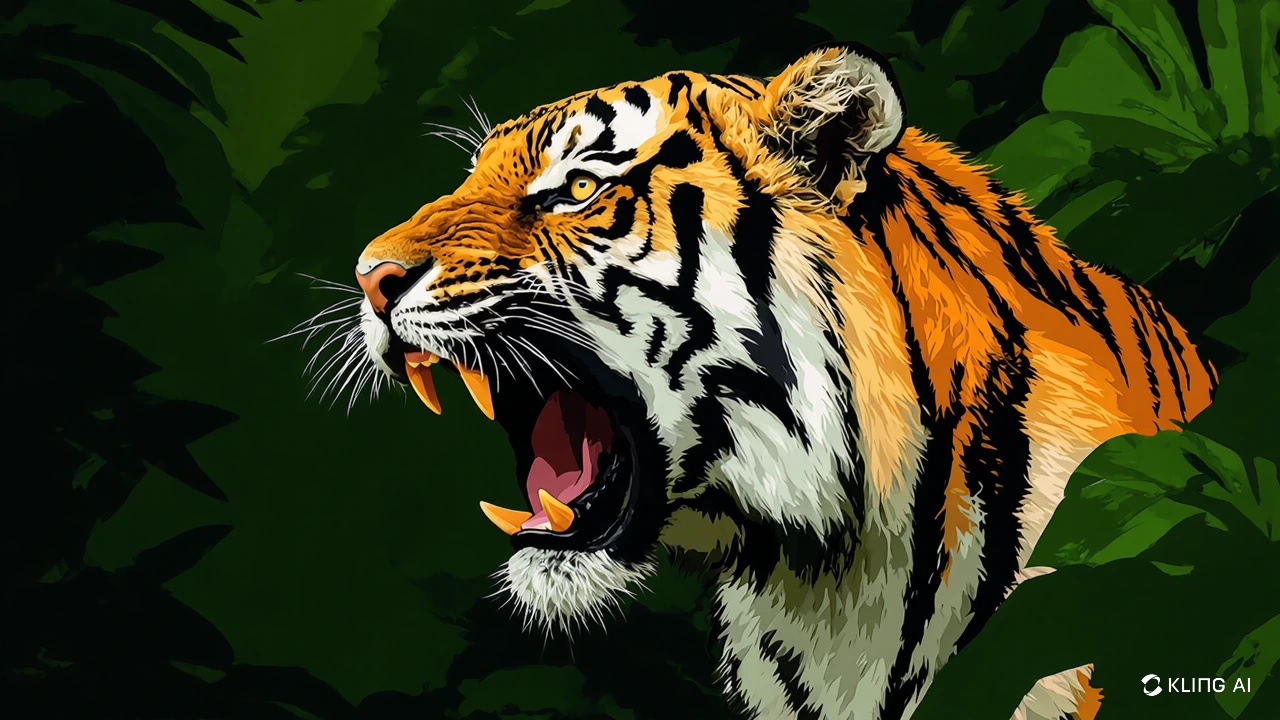
Tigers are one of the most majestic and powerful creatures in the wild. Their bold stripes, intense gaze, and muscular form make them a favorite subject for artists and nature lovers alike. If you’ve ever wanted to bring the realistic beauty of a wild tiger to life on paper, this tutorial is for you.
Whether you're a beginner exploring wildlife art or an experienced sketcher refining your skills, our step-by-step tiger drawing guide will help you create an impressive, lifelike tiger sketch—right from the first line to the final shading.
✏️ What You’ll Need:
Drawing pencils (HB, 2B, 4B, 6B recommended)
Eraser and sharpener
Blending stump or tissue for shading
Smooth sketch paper
Reference photo (optional, but helpful)
🔍 Key Features of a Realistic Tiger Drawing:
Accurate proportions and posture
Defined facial features: eyes, nose, and snout
Textured fur and stripes
Shading to add depth and realism
Wild, powerful expression
🎨 How to Draw a Realistic Tiger – Step-by-Step Guide
Step 1: Draw the Basic Outline
Start with simple shapes to define the tiger’s structure:
An oval for the head
A larger shape for the body
Light lines for leg placement and tail
Step 2: Sketch the Facial Guidelines
Draw a vertical line down the face and a horizontal line across the eyes. This helps you place the eyes, nose, and mouth symmetrically.
Step 3: Outline the Facial Features
Carefully draw the almond-shaped eyes, the triangle-like nose, and the distinctive mouth. Tigers have a powerful expression—try to capture that intensity.
Step 4: Shape the Ears and Add the Neck
Tigers have rounded ears with black markings. Add volume to the neck with fur tufts that blend into the body.
Step 5: Start the Body Details
Draw the legs, paying attention to the muscle definition. Sketch the tail with a slight curve to show movement.
Step 6: Add Fur Texture and Stripes
This step brings your tiger to life:
Use short, directional strokes for fur
Add the characteristic black stripes—follow the tiger's muscle curves and natural flow
Don’t overdo it—keep some areas light to balance the composition
Step 7: Shade the Drawing
Use softer pencils like 4B and 6B for depth:
Shade under the chin, in the eye sockets, around the snout
Blend with a tissue for a smooth transition
Darken the stripes for contrast
Step 8: Final Touches
Erase unnecessary guidelines, sharpen details, and enhance the tiger’s gaze. Add whiskers and reflections in the eyes for a lifelike effect.
🧠 Pro Tips for Drawing a Realistic Tiger:
Study tiger anatomy to understand bone and muscle structure
Use photo references for realistic stripes and fur flow
Practice shading techniques like hatching, cross-hatching, and blending
Start light and build up contrast gradually
Don’t rush—details take time
🎯 Perfect For:
Art students exploring animal anatomy
Wildlife art enthusiasts
Artists building a sketch portfolio
Teachers planning a wildlife drawing lesson
Anyone who loves tigers and wants to draw them accurately
🐾 Final Thoughts
Drawing a realistic tiger is more than just an art exercise—it’s a way to connect with the wild beauty of nature. With patience, attention to detail, and practice, your tiger sketch can capture the soul of this majestic predator. From the deep eyes to the distinctive stripes, your artwork will roar with realism and power.
Ready to take on the wild? Grab your pencils and let the sketching begin!