
Quick Answer
A trace drawing app helps most when you use tracing for one clear purpose: learning a contour, locating the largest shapes, or rehearsing a difficult hand movement. It helps least when you trace every detail without looking, thinking, or attempting the subject again on blank paper. The useful question is not “Does tracing count?” but “What will I do after the guide disappears?”
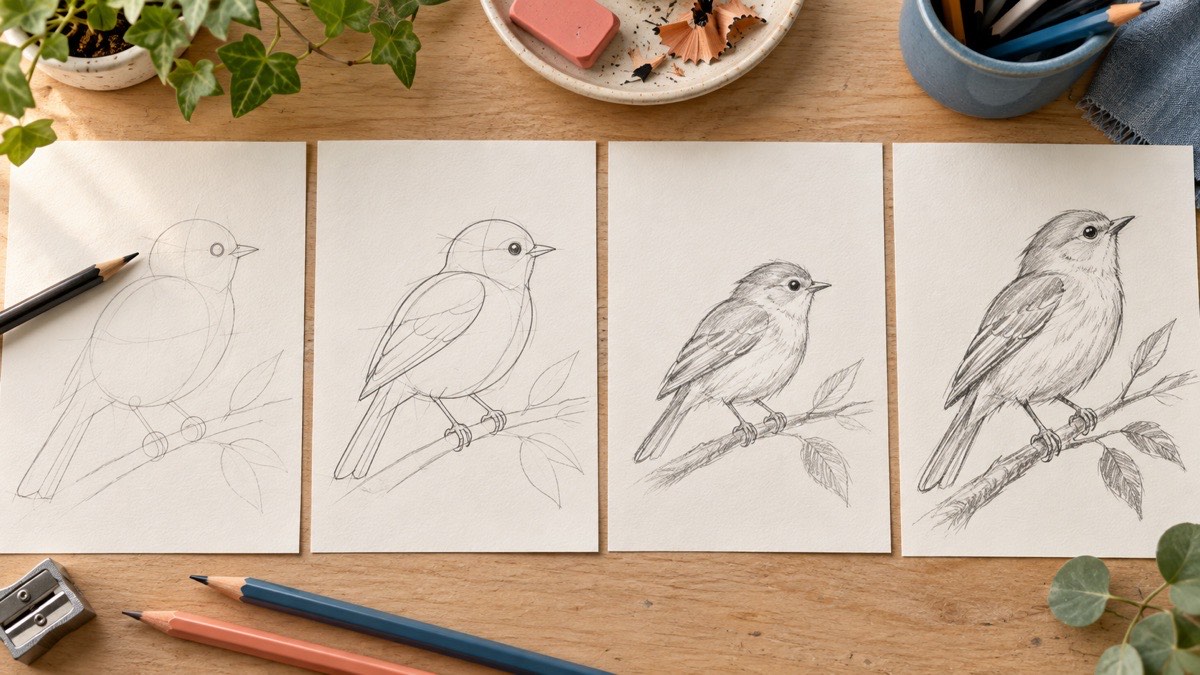
Use a simple four-part loop: trace once, copy once, redraw from memory, then create a variation. Tracing gives immediate feedback while your hand follows a path. Copying makes you judge angles and distances. Recall shows what you actually learned. The variation—another pose, size, or expression—turns the borrowed structure into flexible drawing knowledge.
How to Draw offers guided references and optional phone-assisted paper practice for iPhone and iPad.
What a Trace Drawing App Actually Does
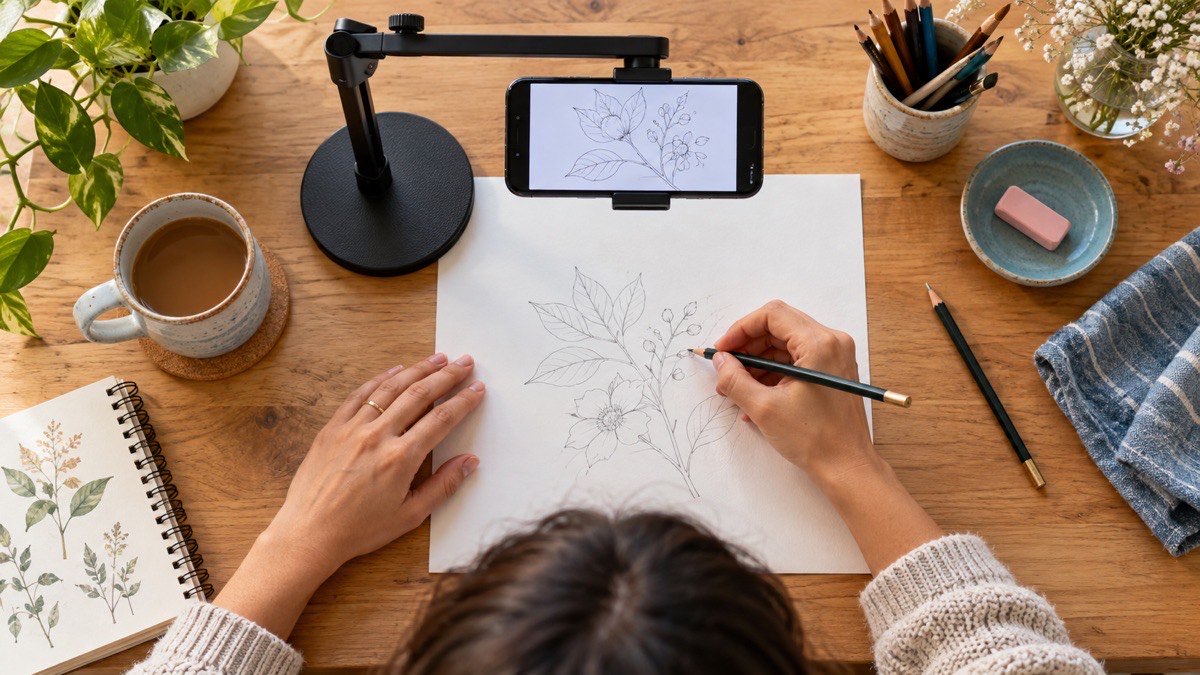
A trace drawing app places a digital reference where you can align it with paper through your phone camera or another guided view. You can usually resize and reposition the subject so its main contours fit the page. The phone does not draw for you: your hand still chooses the pressure, speed, stroke direction, and which lines deserve to stay.
That distinction matters. The projected or overlaid image is temporary feedback, not the finished skill. Treat it like removable training wheels. The aim is to notice where a curve begins, where it changes direction, how far one landmark sits from another, and how your arm produces that route.
- Good training targets: the outside silhouette, centerline, large overlaps, and three to six major landmarks.
- Poor training targets: every hair, texture mark, highlight, shadow edge, or tiny decorative detail.
- Best pencil pressure: light enough that the traced scaffold can be erased or drawn over.
- Best follow-up: a smaller freehand version made with the reference hidden.
If you are new to phone-assisted paper drawing, the AR drawing phone setup guide explains alignment, lighting, and a stable overhead position. A secured stand is better than balancing a phone on books or holding it with one hand while drawing.
When Tracing Helps You Learn
When the blank page is the main obstacle
A first successful outline can lower the cost of starting. This is especially useful for a beginner who understands a subject visually but freezes when asked to place it on paper. Trace only the largest structure, switch the guide off, and finish the interior from observation. The early win should open the next challenge, not remove it.
When you are learning a specific movement
Long S-curves, ellipses, leaf edges, facial profiles, and lettering strokes all have direction and rhythm. Tracing lets you rehearse that movement slowly while seeing immediate error. Repeat the curve two or three times, then place an empty line beside it and make the same motion without the path.
When proportions keep drifting
Trace a centerline, bounding box, shoulder angle, eye line, or a few anchor points—not the complete subject. Those landmarks create a map. After the map is placed, hide the overlay and connect the points yourself. This is closer to construction drawing than to passive copying.
When the reference is visually busy
A photograph can contain hundreds of edges, most of which do not belong in a useful sketch. Start with a simplified outline or use the photo-to-sketch workflow to reduce texture. Choose the silhouette, major overlaps, and one or two internal features. Leaving information out is part of the lesson.
What the Research Suggests
Research does not support a simple “tracing is good” or “tracing is cheating” verdict. In a study of 16 adults learning unfamiliar patterns, participants were more accurate while tracing and immediately after tracing; one week later, tracing and copying produced no difference in redraw accuracy. That suggests tracing can improve short-term guidance without automatically creating a long-term advantage.
A different study asked 8-year-olds to learn unfamiliar letter-like movements. Tracing produced low errors during practice, but the children performed worse when the guide was removed than after a condition that required explicit movement instructions. In other words, a clean tracing performance can hide fragile learning.
Other handwriting research offers a useful principle: active mark-making can build motor and visual representations, while varied handwritten examples may help learners recognize a category beyond one perfect model. Drawing is not handwriting, so these findings should not be stretched too far. Still, they support a practical design: move quickly from a fixed guide to self-produced, slightly different versions.
The safest conclusion is modest. Tracing can provide accurate feedback and a manageable entry point. Copying, recall, comparison, and variation are what reveal whether the learner can use the idea independently.
The Trace–Copy–Recall Practice Loop
- Observe before the overlay appears. Spend 30 seconds naming the subject’s biggest shapes, widest and narrowest areas, centerline, and direction. This gives your eyes a job before your hand starts following.
- Trace only the scaffold. Use a light pencil to place the silhouette or three to six landmarks. Move from the shoulder or elbow on long curves rather than drawing every line with tight finger movements.
- Turn off or move away from the guide. On a fresh area, copy the same subject while looking back and forth. Measure simple relationships: “the body is two head-lengths,” or “the beak ends below the eye.”
- Hide the reference. Make a small redraw from memory. Do not aim for a polished result. This is a diagnostic sketch that shows which shapes and relationships stayed with you.
- Compare without judging. Put the attempts side by side. Circle one accurate relationship and mark one change for the next version. Avoid correcting ten things at once.
- Create a variation. Change the pose, scale, direction, expression, or viewpoint. Reusing the structure in a new situation is stronger evidence of learning than producing another identical trace.
When Tracing Stops Helping
Tracing becomes a dead end when the guide receives all of your attention. If you watch only the pencil tip, you may finish with a recognizable outline but no idea how the head relates to the body or why a curve changes direction. Pause at landmarks, look ahead along the path, and describe the form.
It also stalls when difficulty never changes. Ten identical traces can improve smoothness on that exact path while leaving proportion judgment untested. After one or two passes, reduce support: use fewer guide lines, lower the overlay’s visibility, copy beside the reference, or redraw at a different size.
Finally, tracing can make normal freehand variation feel like failure. A traced line is constrained by the model; a freehand line records your observation and movement. Expect the second version to differ. The goal is not to reproduce the reference like a scanner. The goal is to understand enough structure to make a clear, intentional drawing.
Set Up a Trace Drawing App for Learning
Choose a reference with one clear subject, a readable silhouette, and moderate detail. High contrast helps, but a pure black outline is not required. Crop distracting background objects. For a first session, avoid foreshortened poses, tangled overlapping shapes, and photographs where important edges disappear into shadow.
Mount the phone securely above the paper, keep the drawing area evenly lit, and confirm that your hand can move without bumping the stand. Resize the reference before you begin and mark the paper corners so you can realign it if anything shifts. Use a hard or medium pencil—HB or H—with light pressure for the scaffold. Darken the final line only after the guide is hidden.
Lower the overlay until it is visible but not dominant. If the image is so bright that you stop seeing your own graphite, reduce its opacity or simplify the reference. The AR drawing app overview and trace drawing app page offer related setup ideas for paper practice.
Common Problems and Easy Fixes
My lines are shaky
Slow down before the curve and make one rehearsal movement just above the paper. Use the whole arm for long contours and the fingers for small turns. A slightly quick, committed stroke often looks cleaner than a very slow line built from dozens of corrections.
The paper and overlay keep drifting
Secure the paper with low-tack tape, lock the phone stand, and avoid touching the screen once alignment is set. If you need to zoom, stop drawing and realign from two marked anchor points. Do not try to chase a moving guide.
I can trace it but cannot draw it again
Reduce the subject to three shapes and three landmarks. Trace those six pieces, cover the model, and rebuild them from memory at half size. Then compare. Independence grows from repeated retrieval, not from adding more detail to the traced version.
The traced drawing feels lifeless
Keep the scaffold pale and redraw the final contour with varied pressure, selective detail, and overlapping forms. Add a line of action before the clean pass. Do not simply darken every traced edge; decide which boundary is visible and which construction line should disappear.
Kids, Confidence, and Accessibility
For children, keep tracing sessions brief and let an adult secure the device. Ask questions that direct attention—“Where does this curve turn?” or “Which shape is largest?”—instead of praising only a perfect match. Finish with a creative choice such as a new color, expression, prop, or background so the activity does not become a single-answer worksheet.
Tracing can also make drawing more accessible for people who benefit from reduced visual complexity, a larger target, or a stable path to follow. Adjust the reference size, contrast, paper position, and session length to the person. The app is a flexible aid, not a diagnosis or substitute for individualized occupational or medical guidance.
A 15-Minute Tracing-to-Freehand Session
- Minutes 1–2: observe the reference and name the large shapes, centerline, tilt, and three landmarks.
- Minutes 3–5: trace only the scaffold with light pressure.
- Minutes 6–9: copy the subject beside the guide, measuring relationships yourself.
- Minutes 10–12: hide the reference and make a small memory redraw.
- Minutes 13–15: compare the versions and draw one purposeful variation.
Keep all attempts, including the awkward one. Date the page and repeat the same subject a week later without looking at the first result. The beginner drawing practice plan offers a broader seven-day routine, while the AR tracing guide covers phone-and-paper technique in more detail.
Trace Responsibly
For private practice, choose images you created, references supplied for learning, public-domain works, or material whose license allows your use. Do not assume that finding an image online makes it free to reproduce or publish. The U.S. Copyright Office notes that fair use has no automatic percentage rule and depends on the circumstances.
If you share a study based closely on someone else’s protected artwork or photograph, identify the source and check the owner’s terms or ask permission. Attribution is good practice, but it does not replace permission when permission is required. For work you plan to sell, submit to a client, or present as original, build from references you are licensed to use and make genuinely independent creative decisions. This section is general education, not legal advice.
Use Tracing as a Bridge, Not a Destination
A trace drawing app can give your hand a clear route and your eye a less intimidating starting point. That is useful. The learning becomes durable when the route is removed and you must observe, estimate, remember, and adapt.
Keep the traced scaffold light, reduce support early, and always finish with a freehand attempt. One imperfect redraw made from memory will often teach you more about your next step than one perfectly matched outline.
Open How to Draw for guided references, then hide the guide and make one quick freehand variation.
Related Drawing Guides
- Explore How to Draw lessons and drawing tools
- Set up your phone securely for AR drawing
- Explore trace drawing tools for paper practice
- Learn how an AR drawing app works
- Explore beginner-friendly drawing tools
- Simplify a photo into a drawing reference
- AR Drawing App: Trace Pictures on Paper With Your Phone
- Drawing Projector App vs Lightbox
- Photo to Sketch App Guide
- How to Draw Step by Step: Beginner Practice Plan
References
- Gonzalez et al.: Is Tracing or Copying Better When Learning to Reproduce a Pattern?
- Overvelde and Hulstijn: Learning New Movement Patterns in 8-Year-Old Writers
- Li and James: Handwriting Generates Variable Visual Input to Facilitate Symbol Learning
- Wiley and Rapp: The Effects of Handwriting Experience on Literacy Learning
- U.S. Copyright Office: Fair Use FAQ